

Alerting Segments
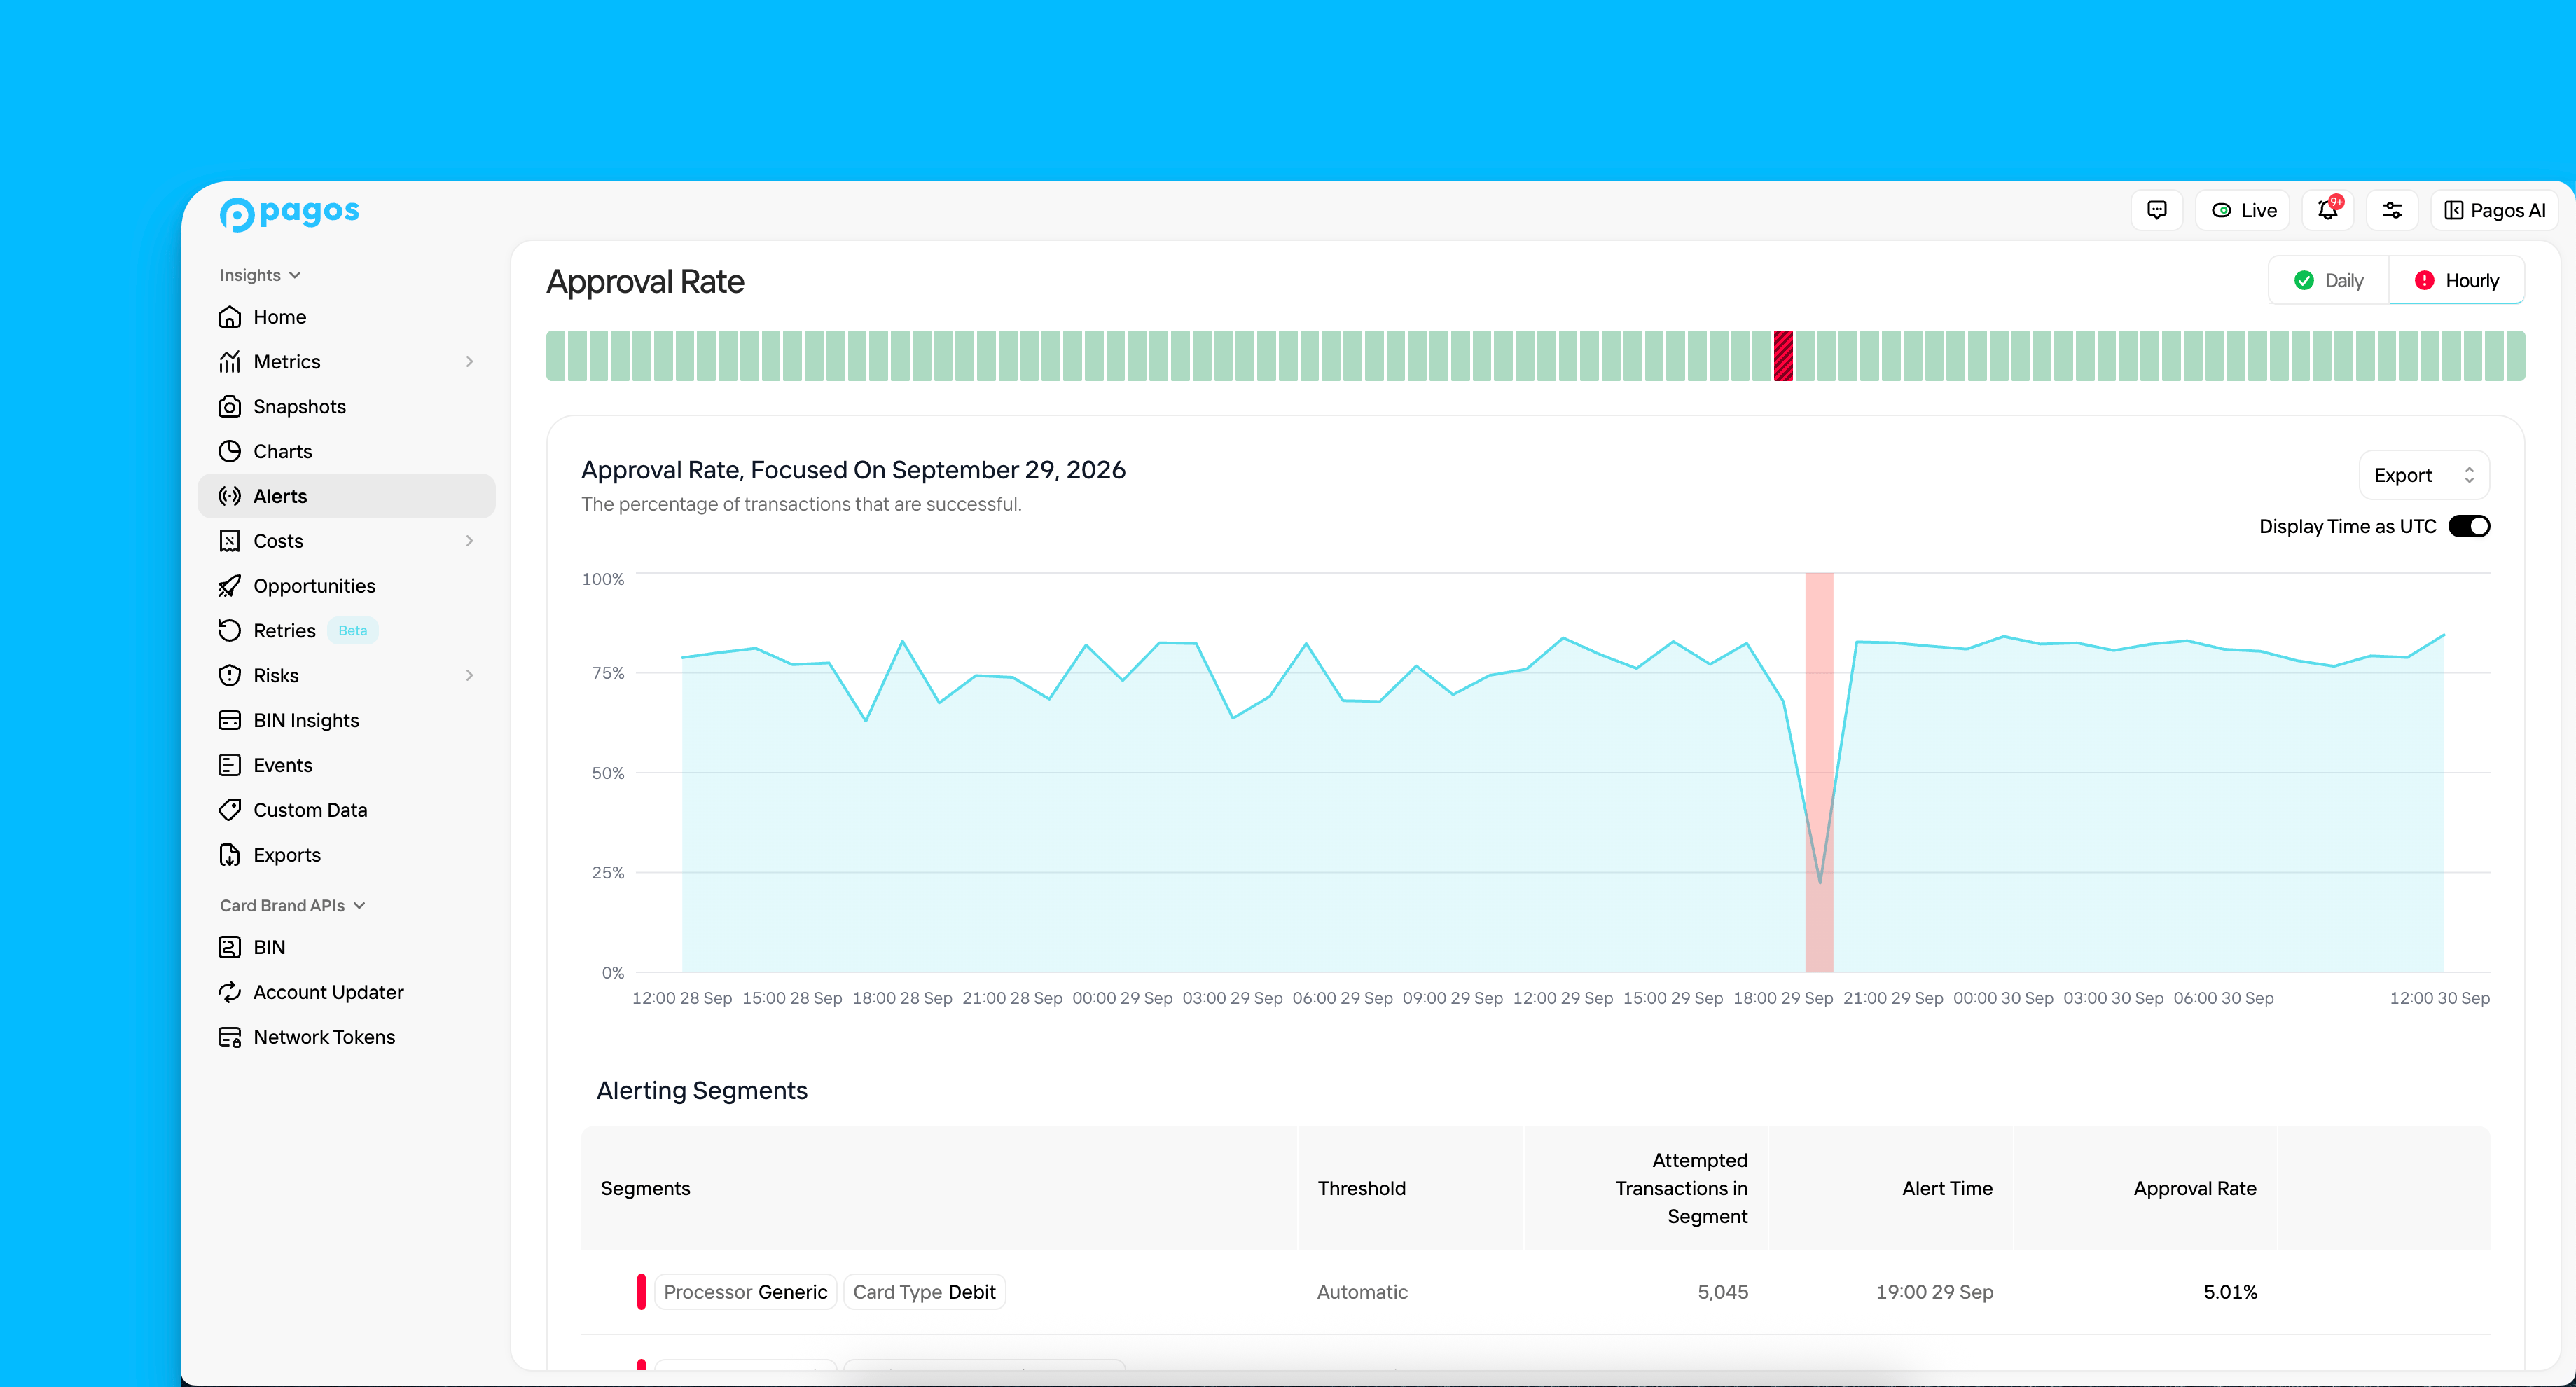
Hover over the segment’s row name to reveal a Focus icon; click this icon to change the focus graph to only show data for that particular segment.
Monitored Segments
At the bottom of the Alert Metric Details page, you’ll find a Monitored Segments table listing all the business segments Pagos monitors for anomalies, along with the Threshold Type, Attempted Transactions in Segment (rate metrics only), and (Metric) vs. 30-Day Average (daily alerts only). Hover over a segment’s row in this table to reveal a Focus icon. Click this icon to change the focus graph to only show data for that segment. We identify a segment by filtering for all transactions associated with a single parameter within one of the following data filters:- Processor
- Payment method
- Stored credential
- Card brand
- Card type
- BIN (Attempted Transaction Count only)
- Issuing country
- MID - To evaluate a MID for any Alert metric, the MID must have >1,000 transactions in the last 30 days and >100 transactions on the alert date.
Custom Segments
With custom segments, you can define the exact market segment you want Pagos to monitor for anomalies. To create a new custom segment:1
Select a Metric
On the main Alerts page, decide which payment metric you want to build a custom segment around. Click the bar for any given day under that metric to open an Alert Metric Details page.
2
In the Monitored Segments section, click Custom Daily Segment to open a side panel.
If the selected metric includes hourly alert data, you can also customize hourly segments. Click the Daily/Hourly switcher in the top-right corner to switch to an Hourly view, then click Custom Hourly Segment.
3
Select a Threshold Type
Click one of the tabs to select your Threshold Type.
4
Set a Threshold Value (Static Thresholds only)
Enter a static threshold value, then select whether you want to receive an alert when your metric measures Above or Below that value.
5
Filter by Processor
For all custom segments, specify the Processor you want to monitor for anomalies. This field is required.
6
Filter by Decline Code (Decline Rate monitoring only)
When building a custom segment for Decline Rate, select the Decline Code you want to monitor. This field is required.
7
Apply Optional Filters
For most metrics, you can apply up to two additional filter segments to further narrow down the market segment. Click Filter, select from the available options, then select a parameter from the drop-down.
For Decline Rate custom segments, you can only apply up to one additional filter.
8
Click Create Segment.
Threshold Type
When building a custom segment, you’ll select the type of threshold that triggers an alert:- Automatic - Receive an alert when we register an anomaly (i.e. a measurement that’s inconsistent with your historical data) for the defined market segment
- Static - Receive an alert whenever your metric measures above/below a set static threshold measurement for the defined market segment. Use this threshold type if your business has specific KPIs you monitor for.
Keep in mind the following when using Static thresholds in custom segments:
- If your custom segment already appears in the Monitored Segments list (i.e. it has a high historical transaction count), we’ll alert you both when the metric crosses your static threshold and when we detect an anomaly based on your historical data.
- If your segment has a low transaction count and doesn’t meet the criteria for Monitored Segments, we’ll only alert you when the metric crosses your static threshold; statistical anomalies won’t be evaluated.
Subscribing to Custom Segment Alerts
By default, only the user who creates a custom segment receives anomaly notifications. That being said, all custom segments created by users within your Organization will appear in the Monitored Segments and Alerting Segments lists for the associated metric. The following icons indicate your relationship with a given custom segment:- - You created the custom segment and are subscribed to its alerts
- - Another user created the custom segment and you’re subscribed to its alerts
- - Another user created the custom segment and you’re not subscribed to its alerts
Editing Custom Segments
1
Locate the custom segment in the Monitored Segments section of the Alert Metric Details page.
2
Hover over the segment, then click the … icon at the end of the row.
3
To adjust the custom segment’s settings, click Edit Segment. Make your changes in the side panel, then click Save Segment.
4
To delete a custom segment permanently, click Stop Monitoring Segment, then confirm the change. Keep in mind, this action can’t be undone.