> ## Documentation Index
> Fetch the complete documentation index at: https://docs.pagos.ai/llms.txt
> Use this file to discover all available pages before exploring further.
# New User Onboarding Guide
> Learn how to set up a new account with Pagos and join an Organization
## Overview
Each individual who signs up with Pagos creates a **user account** and joins an [**Organization**](/getting-started/managing-your-pagos-organization). Your company's Organization is the shared business account where your team can collaborate within the Pagos Platform to view and analyze the payments data ingested from your payment processors.
Depending on your situation, there are three ways to become a Pagos user:
* [Create an account and a new Organization](#create-an-account-and-a-new-pagos-organization)
* [Accept an invitation to join an existing Organization](#accept-an-email-invitation)
* [Create an account and join an existing Organization](#create-an-account-and-join-an-existing-organization)
## Create an Account and a New Pagos Organization
Only complete the following steps if your company **doesn't have a Pagos Organization yet**. If your company already has a Pagos Organization with established data connections, ask an Admin to [invite you](/getting-started/managing-your-pagos-organization#inviting-new-members) or see the instructions for [creating an account and joining an existing Organization](#create-an-account-and-join-an-existing-organization).
Navigate to our [sign up page](https://secure.pagos.ai/sign-up), and enter your first name, last name, email address, and password. Agree to the Terms of Service and Privacy Policy, then click **Continue**.
Enter the verification code sent to your email address.
Beside **Insights, Opportunities, & BIN Data**, click **Get Started**.
Click the **settings** icon in the top-right corner of the Pagos Service Panel. Under **My Company**, click **Settings**. Your new Organization defaults to the name **My Company**; click **Update profile** to update the name to match your business, and add a logo image if desired. Click **Save**
While not strictly required, we recommend naming your Organization after your business. It helps new users find and join the right team.
After you set up your account and organization, you can:
* [Update your Pagos account profile information](/getting-started/managing-your-pagos-account#managing-your-pagos-user-account)
* [Invite new members to your Team](/getting-started/managing-your-pagos-organization#inviting-new-members)
* [Connect your PSPs](/importing-data/connecting-your-payment-processors-to-pagos) to import payments data
* Test out Pagos services in [Test Mode](/getting-started/managing-your-pagos-account#test-mode)
## Accept an Email Invitation
Users with the **Admin** role can [invite new members to join their Organization](/getting-started/managing-your-pagos-organization#inviting-new-members).
To accept an invitation to join an existing Pagos Organization:
If you already have a Pagos account with the same email address that received the invitation (e.g. for testing purposes or with another Organization), you must first log out of that account. If you don't have a Pagos account already, skip this step.
The same email address **can** be a member of multiple Organizations, but you **must** be logged out to accept an invite to a new Organization.
In the invitation email, click **Accept invitation**.
If your email address isn't associated with an existing Pagos account, complete the form to create an account, then click **Continue**. The Pagos Service Panel will open, logged into your new Organization.
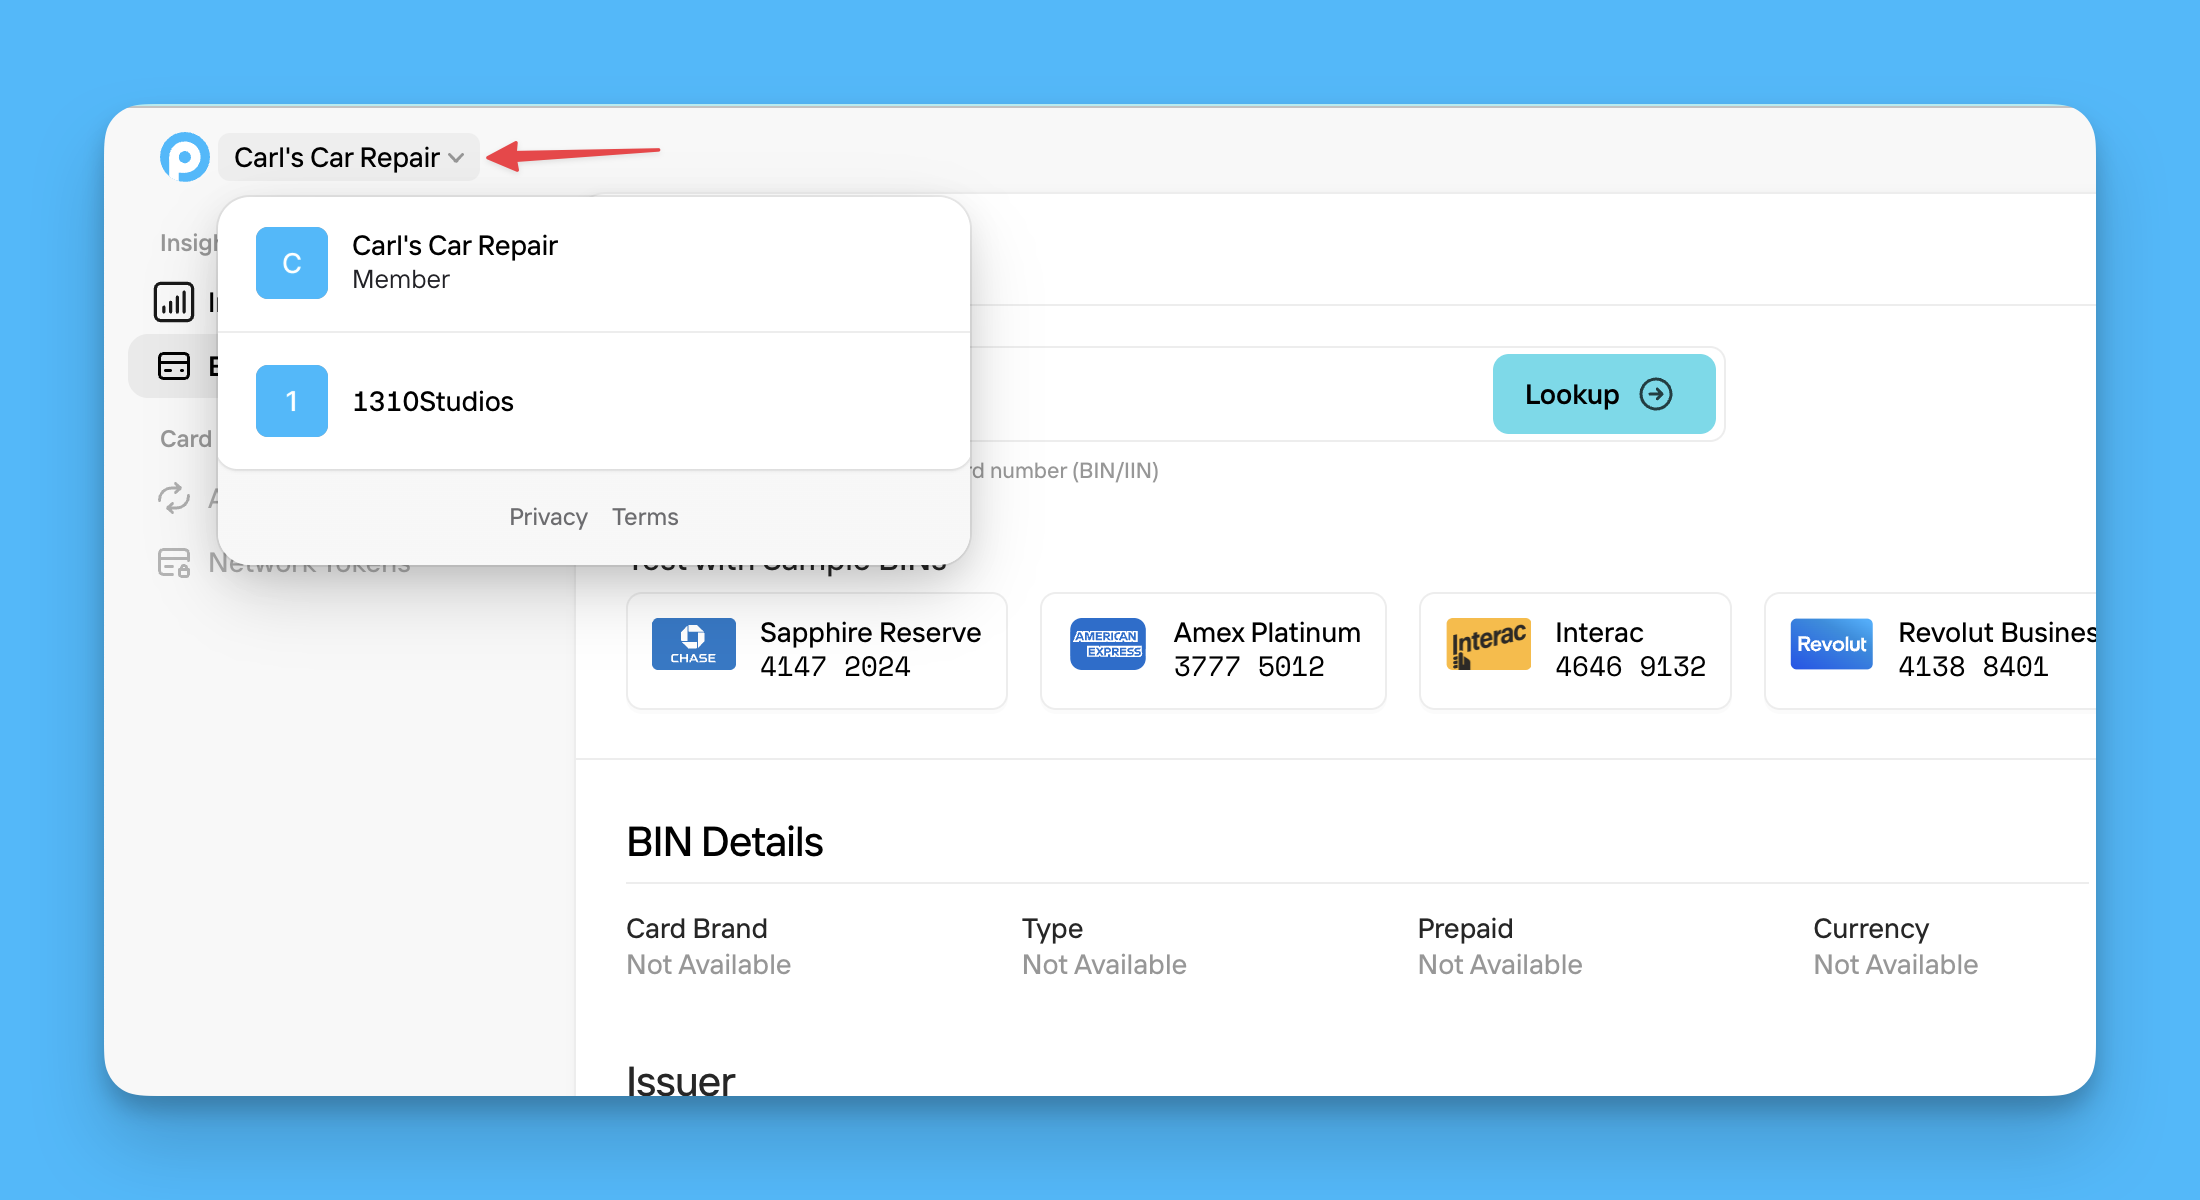
If you already have a Pagos account and are members of a different Organization, you'll immediately land in the Pagos Service Panel, logged into the new Organization. To navigate between Organizations, click the Organization name in the top-left corner, then select an option from the dropdown menu.
 ## Create an Account and Join an Existing Organization
If your Organization has a [verified domain](/getting-started/managing-your-pagos-organization#adding-a-verified-domain) with **Automatic suggestions** turned on, any new user with an email address on your domain can request to join your Organization at sign up.
To sign up for a new user account and request to join an existing Organization:
Navigate to our [sign up page](https://secure.pagos.ai/sign-up), complete the form to create an account, then click **Continue**.
Enter the verification code sent to your email address.
To join your company's established Pagos Organization, click **Request to join** beside the Organization name. An Admin must [approve your request](/getting-started/managing-your-pagos-organization#approving-member-requests) before you can access the Organization.
## Create an Account and Join an Existing Organization
If your Organization has a [verified domain](/getting-started/managing-your-pagos-organization#adding-a-verified-domain) with **Automatic suggestions** turned on, any new user with an email address on your domain can request to join your Organization at sign up.
To sign up for a new user account and request to join an existing Organization:
Navigate to our [sign up page](https://secure.pagos.ai/sign-up), complete the form to create an account, then click **Continue**.
Enter the verification code sent to your email address.
To join your company's established Pagos Organization, click **Request to join** beside the Organization name. An Admin must [approve your request](/getting-started/managing-your-pagos-organization#approving-member-requests) before you can access the Organization.